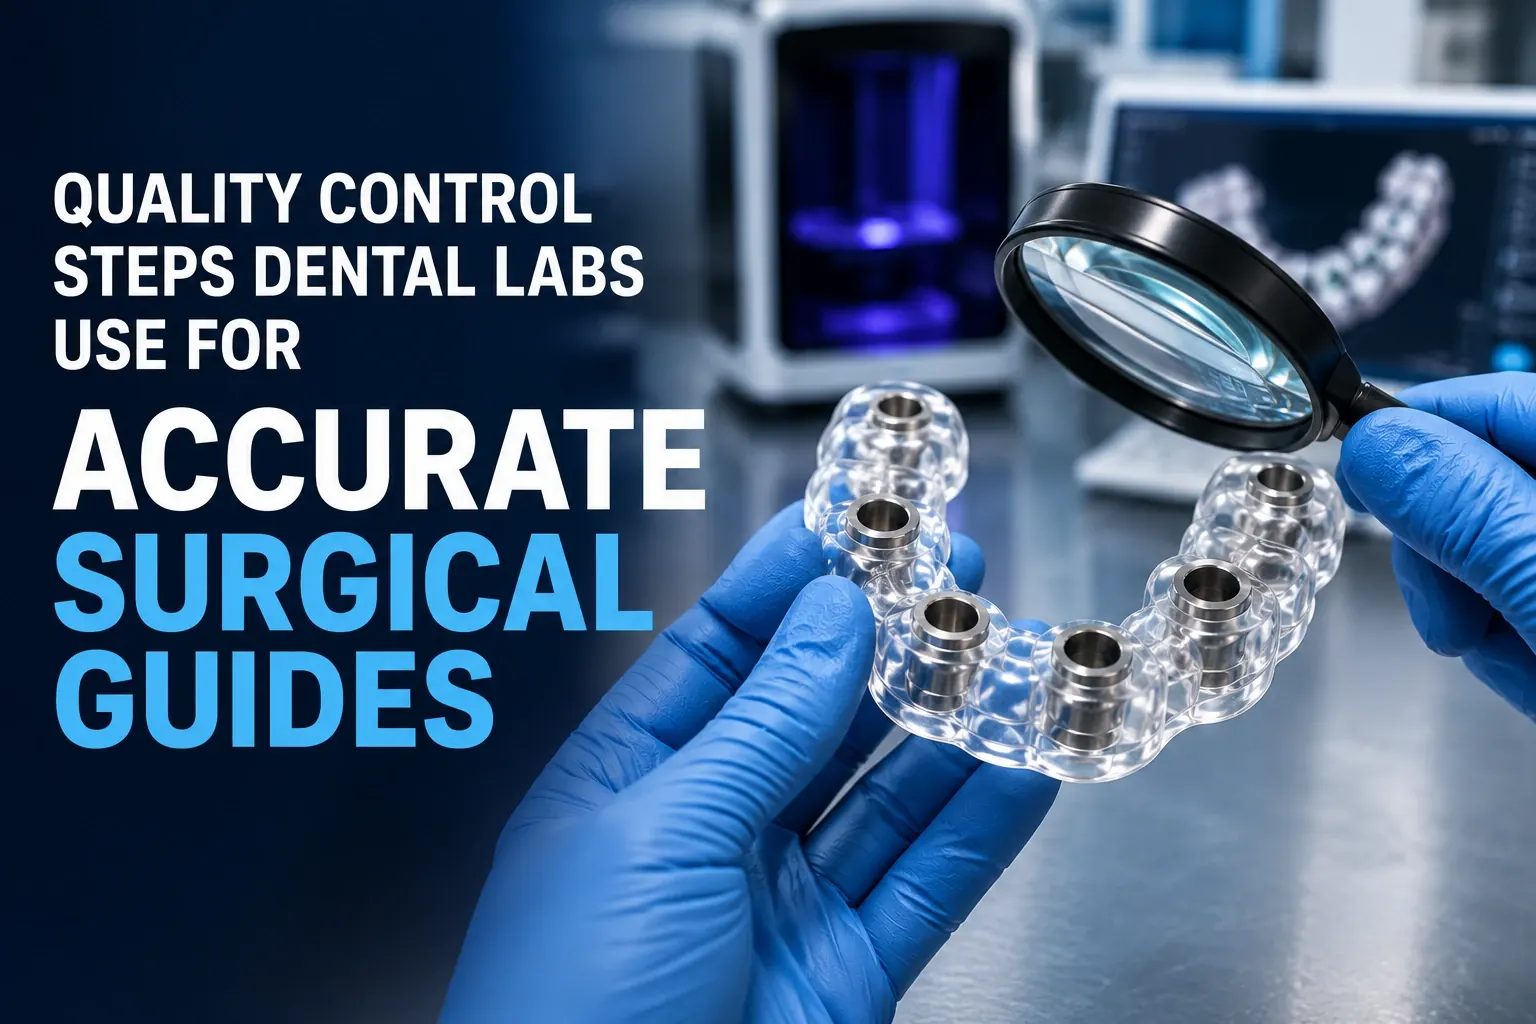

When a surgical guide arrives at your practice, it represents the end product of a multi-stage manufacturing and verification process. The accuracy of that guide and its ability to deliver your planned implant position in surgery depends entirely on the quality control steps applied during production.
Understanding what rigorous QC looks like helps you evaluate the labs you work with, ask the right questions, and set appropriate expectations for the guides you receive. This article explains the quality control process that separates consistently accurate guides from unreliable ones.
Why Quality Control Is Non-Negotiable for Surgical Guides
A surgical guide is a precision medical instrument. It is designed to tolerances of 0.05 to 0.3mm tighter than most dental restorations. At this level of precision, manufacturing deviations that would be invisible in other dental work become clinically significant. A sleeve inner diameter 0.2mm too large creates drill wobble that compounds to 0.5 to 1.0mm position error at the implant apex.
Unlike a crown that can be adjusted at delivery, a surgical guide cannot be modified at the chair. It either performs as designed or it does not. Quality control is the process that ensures it performs as designed, every time.
QC Step 1: Digital File Validation Before Printing
Quality control begins before the printer is even switched on. The STL file representing the guide geometry is analyzed for mesh integrity specifically for non-manifold geometry, inverted surface normals, and holes in the mesh that would create printing defects.
Wall thickness analysis flags areas of the design thinner than 1.0mm that may be structurally vulnerable under drilling forces. Feature size verification confirms that drill sleeve diameters, inspection window dimensions, and retention features all match the approved design specifications. Scaling verification confirms the file is at the correct 1:1 scale to patient anatomy.
At Guided Excellence, this pre-print file check is mandatory on every case. It catches design errors before fabrication, not after. See how this fits into our complete manufacturing process.
QC Step 2: Printer Calibration Verification
3D printer calibration drifts over time and with use. The parameters that most significantly affect guide accuracy build platform leveling, laser power, scan speed, and vat temperature must be within specification before each production run.
A systematic calibration verification before every run ensures that the first guide printed in a batch and the last guide printed in a batch are produced under identical conditions. Printers that are calibrated only periodically rather than before each run introduce batch-to-batch variability that makes consistent accuracy impossible to guarantee.
Guided Excellence calibrates printing equipment before every production run. Any deviation from expected output in a test print triggers recalibration and investigation before patient guides are produced.
QC Step 3: Post-Print Visual and Structural Inspection
After removal from the build platform, the guide undergoes a visual and structural inspection. This inspection checks for:
- Complete layer adhesion throughout the guide body with no delamination visible
- Absence of surface voids, porosity, or print artifacts on critical surfaces
- Complete reproduction of fine features including inspection windows and retention features
- Absence of support structure damage on critical seating surfaces
Guides that fail this inspection are held and not processed further. In practice, this stage catches printing failures caused by resin contamination, support structure problems, or mid-print equipment issues.
QC Step 4: Washing and Post-Cure Verification
3D-printed guides must be thoroughly washed to remove uncured liquid resin before post-curing. Residual uncured resin is a biocompatibility problem (reactive monomers can cause tissue sensitization) and a dimensional problem (uncured resin continues to polymerize after the guide is removed, distorting dimensions).
Washing quality is verified using UV light inspection residual uncured resin fluoresces brightly and is immediately visible if washing was incomplete. Guides are returned to the solvent bath if residual resin is detected.
Post-cure completeness is verified by hardness testing on a sample basis. A fully cured guide should be rigid and non-deflecting under hand pressure. Guides that flex under finger pressure are under-cured and must be returned to the UV cure station.
QC Step 5: Sleeve Measurement — The Most Critical Dimensional Check
Drill sleeves are the most mechanically critical component of the guide. The inner diameter of each sleeve must match the surgical system drill diameter to a tolerance of plus or minus 0.05 to 0.1mm. This is not a specification that can be assumed from the supplier it must be measured.
At Guided Excellence, every sleeve inner diameter in every guide is measured using precision bore gauges before insertion. This step is not optional and is not sampled it is performed on every sleeve. Our implant surgical guide lab maintains measurement records for every case.
After insertion, sleeve alignment is verified to confirm that each sleeve is coaxial with the guide body channel with no measurable tilt or offset. A sleeve that is tilted even 1 to 2 degrees creates directional bias in the drill that compounds to measurable apex deviation.
QC Step 6: Overall Dimensional Verification
With sleeves installed, the guide is measured against the approved design specification. Key dimensions verified include:
- Overall guide length and span
- Seating surface geometry at critical contact points
- Inspection window positions and dimensions
- Retention feature engagement
Any dimension outside tolerance triggers either rework (sleeve replacement if the issue is limited to a specific sleeve) or complete scrapping and reprinting if the guide body itself is outside specification. Guides outside tolerance are never released they are replaced at no charge to the clinician.
QC Step 7: The Model Fit Test — The Final Gate
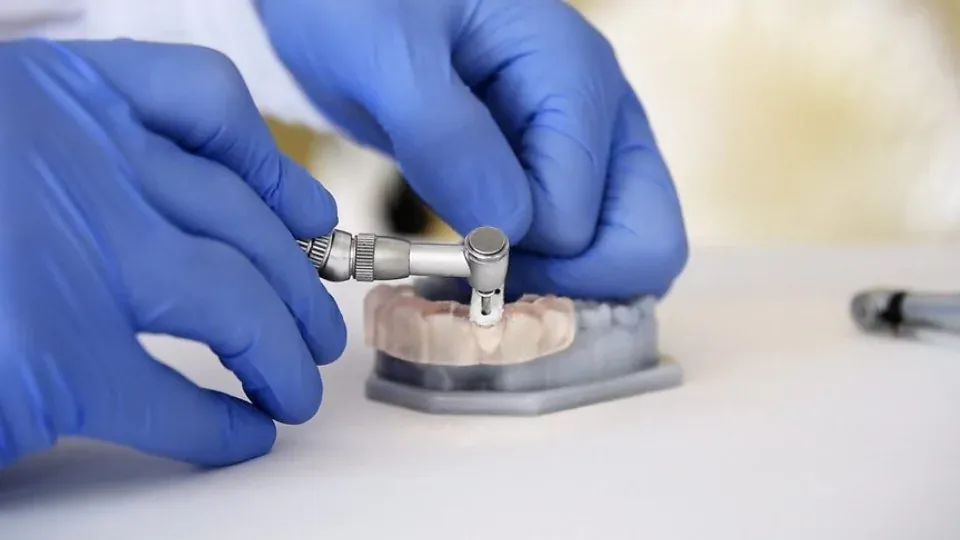
The most revealing quality control test is also the simplest in concept: seat the guide on the patient model and verify it fits perfectly. This test catches problems that dimensional inspection alone cannot reveal specifically, the combined effect of multiple small dimensional variations that individually pass specification but collectively create a seating error.
The model fit test requires:
- Complete contact between the guide seating surface and the model with no visible gaps from any angle
- Zero rocking or movement under bilateral finger pressure applied from any direction
- Correct positioning of inspection windows relative to planned surgical site landmarks
- Proper engagement of retention features without requiring force
At Guided Excellence, no guide is released to shipment without passing this model fit test. It is the final gate in our quality process. A guide that rocks on the model will rock on the patient this test exists to prevent that from ever happening. Learn more about our custom surgical guide standards.
QC Step 8: Sterilization Stability Verification
After sterilization, the guide must maintain its dimensional accuracy. Autoclave sterilization at 121 degrees C for 30 minutes subjects the guide to heat, pressure, and moisture. Any guide material that warps, shrinks, or distorts under these conditions will not perform as verified during pre-sterilization QC.
Sterilization stability verification involves measuring critical dimensions before and after sterilization. Acceptable change is plus or minus 0.2mm. Guides that show dimensional change above this threshold indicate a material or cure quality problem that must be investigated.
Chemical indicator strips are included in every sterilization pack, providing visual confirmation that sterilization temperature and time conditions were met.
How to Evaluate a Lab's QC Commitment
When selecting or evaluating a guide lab, four questions cut directly to QC quality:
| Question | What a Strong Answer Looks Like |
|---|---|
| Do you measure every sleeve ID before insertion? | Yes, every sleeve measured with bore gauges, records kept per case |
| Do you perform a model fit test on every guide? | Yes, every guide fit-tested before shipment, not sampled |
| What happens when a guide fails QC? | Scrapped and reprinted, never repaired or shipped out of spec |
| Can you provide measurement records on request? | Yes, records available and provided upon request |
Submit your case to Guided Excellence to experience a quality-controlled guide that performs exactly as designed.