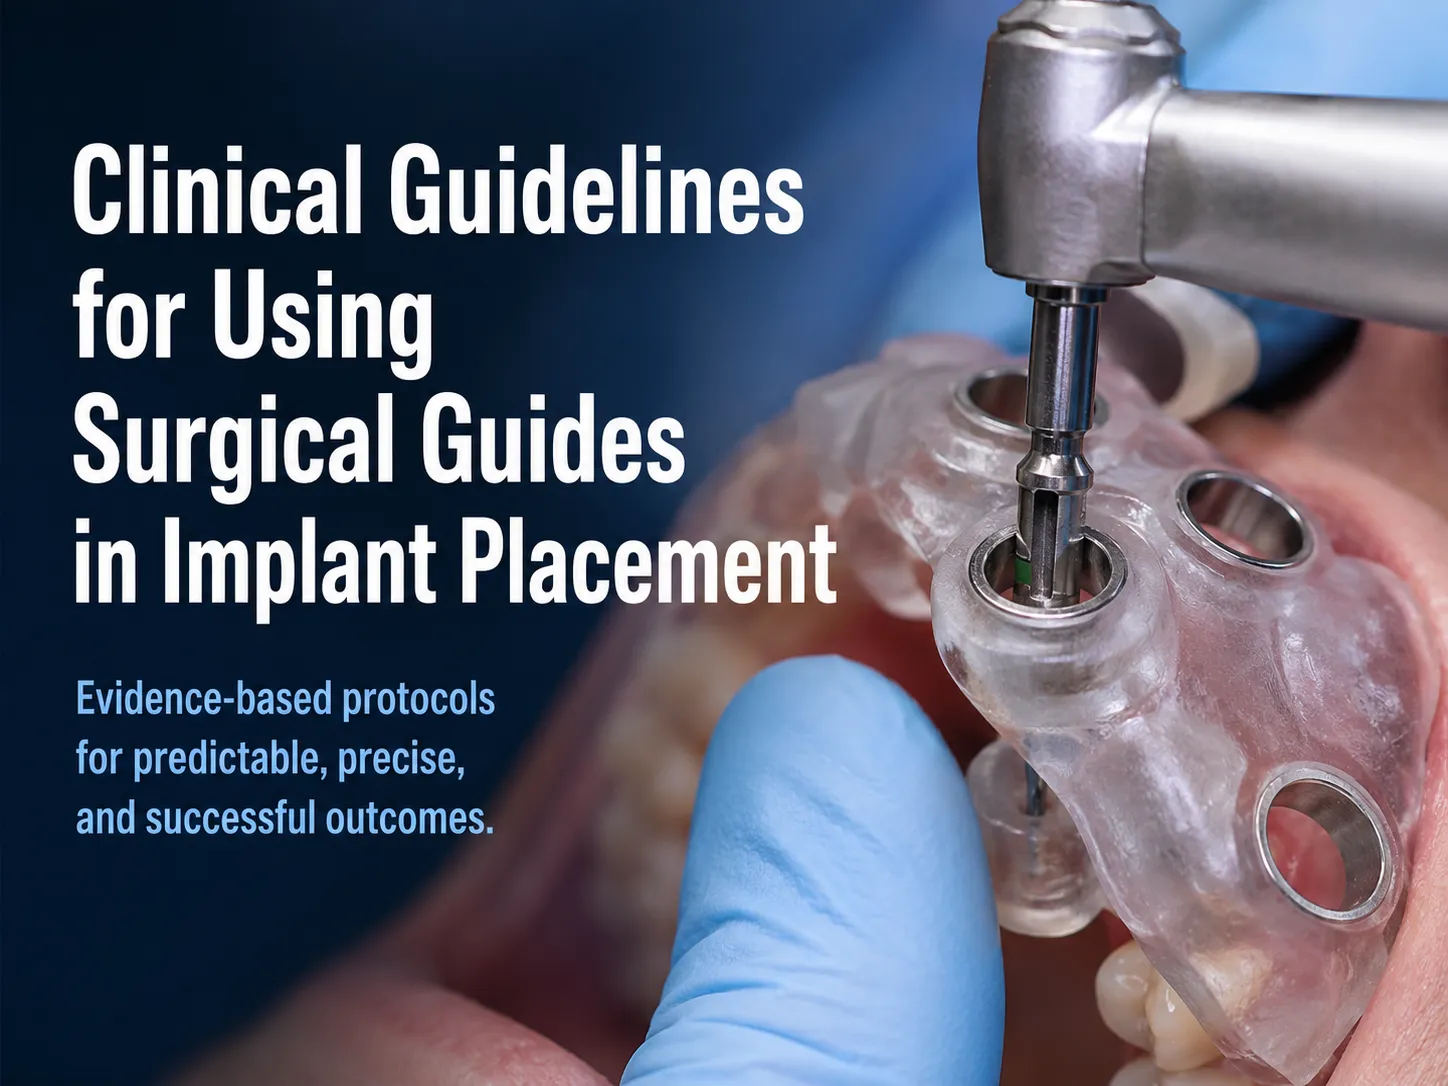

Surgical guides are precision instruments. Their ability to deliver sub-millimeter accuracy in implant placement depends not only on how well they are designed and fabricated, but also on how rigorously clinical protocols are followed during every phase of their use.
This article consolidates evidence-based clinical guidelines for surgical guide use across the full case cycle: patient selection, imaging acquisition, guide submission, intraoperative technique, and post-operative documentation. Following these guidelines consistently produces better outcomes than treating guides as simply another instrument placed on the surgical tray.
Section 1: Patient Selection Guidelines
Cases Where Guides Are Strongly Indicated
Clinical judgment on guide indication should consider the precision margin of the case, how much positional error is acceptable before clinical consequences result. The narrower the margin, the stronger the indication for guided surgery.
Guides are strongly indicated in the following clinical scenarios:
- Any implant in the maxillary or mandibular anterior zone where esthetic outcome depends on millimeter-level position accuracy
- Cases where the planned implant apex is within 3mm of the inferior alveolar nerve canal or maxillary sinus floor
- Immediate implant placement after extraction, where socket anatomy may conflict with the prosthetically ideal axis
- Multiple adjacent implants requiring coordinated spacing and parallelism
- Full arch restoration cases where implant positions must support a prosthesis designed before surgery
- Surgeons early in their implant learning curve (fewer than 50 to 100 lifetime cases)
- Medically compromised patients who benefit from minimized operative time
Contraindications
No absolute contraindications to guide use exist from a patient health perspective. Limited mouth opening (under 30mm) may make posterior guide access challenging. Inadequate imaging quality requires rescanning before guide fabrication can proceed. All periodontal disease must be treated and stable before implant placement regardless of whether guides are used.
Section 2: Imaging Acquisition Guidelines
CBCT Standards for Guide Cases
The CBCT acquired for surgical guide planning must meet higher standards than a diagnostic scan:
- Slice thickness: 0.5 to 1.0mm maximum, not the 1.5 to 2.0mm typical for diagnostic panoramic replacement
- Field of view: covers the entire implant site plus minimum 10mm beyond in every direction
- Full arch FOV (14x14cm or larger) for multi-implant and full arch cases
- Patient positioned in natural head posture with centric occlusion
- Patient completely still during acquisition, instruct and verify before scanning
- Metal artifact reduction protocol activated when significant existing metalwork is present
- CBCT reviewed before patient dismissal, rescan if quality is inadequate
Intraoral scans should capture full arches with opposing dentition and a bite registration. Gingival margins and the implant site must be clearly visible. Verify complete coverage before patient dismissal and confirm the STL file opens correctly before submitting. See our complete submission process for detailed file requirements.
Section 3: Case Submission Guidelines
- Submit cases minimum 3 weeks before planned surgery to allow standard fabrication and shipping timeline
- Specify implant system, product line, and drill protocol precisely, not just manufacturer name
- Note immediate loading requirements explicitly if same-day provisional is planned
- Communicate known anatomical concerns in case notes
- Request design review for first cases with a new lab and all complex or full arch cases
- Confirm receipt acknowledgment from the lab within 48 hours of submission
Section 4: Guide Receipt and Pre-Surgical Verification Guidelines
Upon Receiving the Guide
Verify the guide before storing it for surgery. This inspection should be done immediately on receipt, not on surgery day when there is no time to address problems.
- Sterile packaging is intact with no tears, moisture damage, or opening
- Sterilization indicator strips show the correct color change confirming sterilization conditions were met
- Patient identifier on the label matches your case record
- No visible cracks, chips, or delamination anywhere on the guide body
- All drill sleeves are present, fully seated, and show no rotation
- Inspection windows are open and properly positioned
If any concern is identified on receipt, contact the lab immediately. Do not wait until surgery day. A guide with a confirmed defect should be replaced, not used with reservations.
Section 5: Intraoperative Clinical Guidelines
The Critical Importance of Guide Seating
All the precision of guide design and fabrication is delivered to the patient only if the guide is completely and passively seated at surgery. Guide seating verification is not a perfunctory step, it is the single most important intraoperative action for ensuring guide accuracy translates into clinical performance.
Complete the following seating verification before any drilling begins, on every case, without exception. Our custom surgical guides are designed for passive seating, if the guide requires force to seat, investigate the cause before proceeding.
Seating Verification Protocol
- Position the guide on the anatomy in the correct orientation
- Visual verification from all accessible angles: no gaps between guide and seating surface visible from any direction
- Tactile verification: apply gentle bilateral finger pressure, no rocking or movement in any direction
- If retention pins are part of the design: insert all pins fully before proceeding
- Second visual check after retention pins are placed: guide remains fully and passively seated
- If guide does not seat passively: STOP. Investigate the cause (soft tissue interference, debris, incorrect orientation) before proceeding. Never force a guide into position.
Drilling Guidelines
- Use only drills from the system specified in the guide documentation, drills from other systems will not fit the sleeves correctly
- Follow the drill sequence in the exact order specified for your implant system
- Apply continuous saline or sterile water irrigation throughout drilling, bone heat necrosis is a significant implant failure risk
- Insert drills into sleeves without applying lateral pressure, lateral force causes sleeve wear and directional deviation
- Verify depth stop engagement at each drill, the mechanical stop should feel definite, not a gradual slowing
- If unusual resistance is encountered at any drill: pause and assess. Do not force drills through unexpected resistance.
Implant Placement After Drilling
- Remove the guide after completing the full drilling sequence
- Place each implant following the system's recommended torque and insertion protocol
- Verify implant angulation visually against the expected plan after placement
- For multi-implant cases: verify inter-implant parallelism or angulation before proceeding to prosthetics
- Periapical radiograph recommended after placement for all cases, mandatory for nerve-proximity cases and esthetic zone cases
Section 6: Post-Operative Documentation Guidelines
Accurate documentation of guided implant cases serves multiple purposes: it creates a clinical record for future reference, provides information relevant to the restorative phase, and documents the quality and safety measures applied.
- Record implant system, product line, body type, diameter, and length for each implant
- Document implant placement depth and final insertion torque for each implant
- Record guide laboratory (Guided Excellence) and guide type in the operative note
- Document any intraoperative findings that deviated from the plan
- Post-surgery feedback to Guided Excellence about guide performance, seating quality, drilling observations, any intraoperative concerns, helps improve future designs. Contact us after complex cases through our case submission and support page.