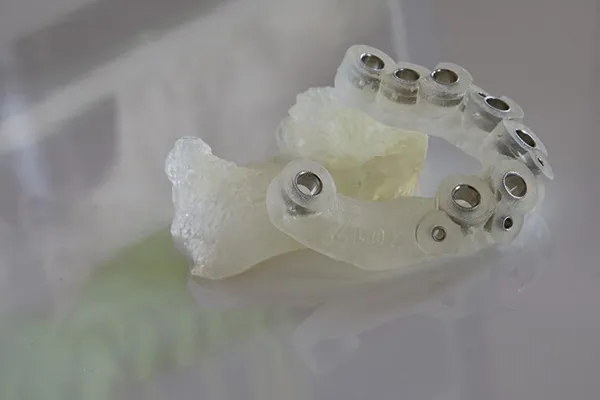

Do you ever wonder about the true timeline for getting a custom dental implant surgical guide? In the world of modern dentistry, where precision and efficiency are paramount, understanding the production journey of a surgical guide is crucial.
These guides transform implant placement from an educated guess to a predictable, accurate procedure, enhancing both patient safety and clinical outcomes. Surgical guides are custom-made devices that fit over a patient's teeth or edentulous ridge. They help dentists position dental implants at the correct angle, depth, and location.
This digital workflow minimizes risks and ensures more predictable results. But how long does it take from the initial scan to having the guide in your hands? Let's break down the process.
Deconstructing the Surgical Guide Production Workflow: A Step-by-Step Timeline
Creating a custom surgical guide involves several distinct phases, each with its own time commitment. Whether you produce guides in-house or outsource them, these steps remain largely consistent.
Phase 1: Data Acquisition & Initial Planning (Clinical Team)
This initial phase relies heavily on the clinical team's efficiency in gathering accurate patient data. High-quality input is essential to prevent delays later on.
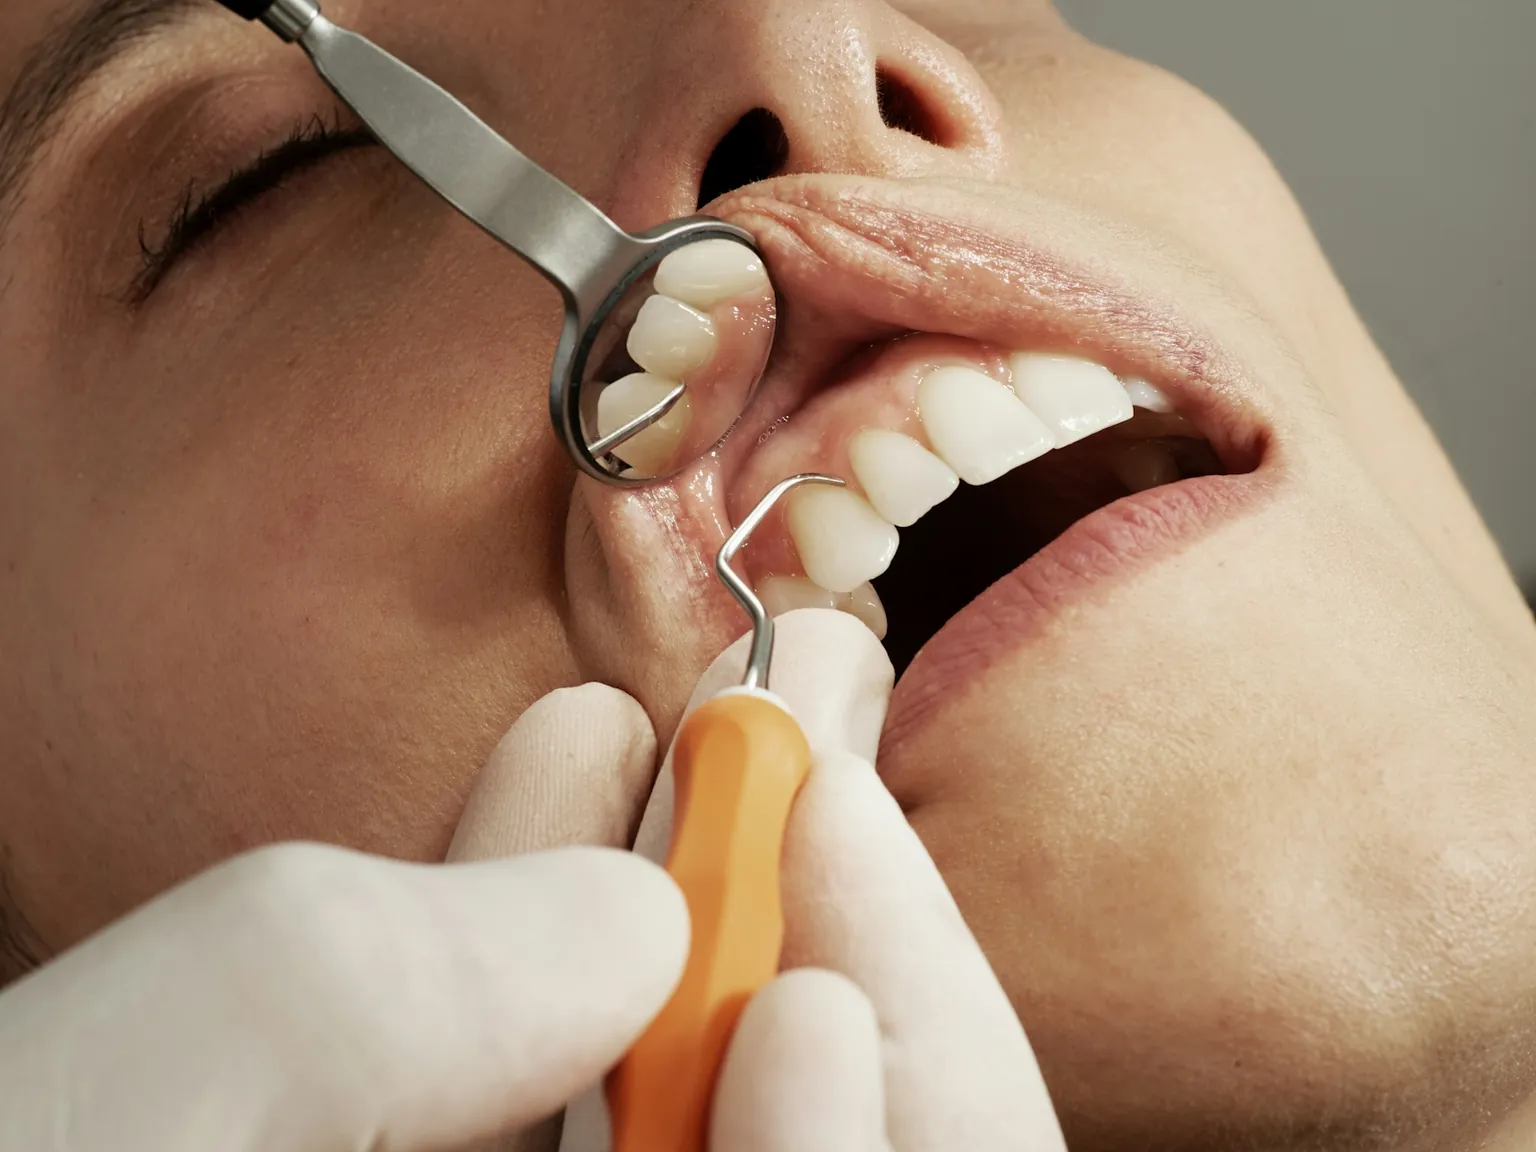
Intraoral Scan/Digital Impressions: This step captures the patient's dentition and soft tissue. Using an intraoral scanner, this usually takes about 5 to 10 minutes, depending on the scanner and the clinician's experience. Over 50% of dental practices in the U.S. have adopted intraoral scanners, significantly streamlining this initial data acquisition.
CBCT Imaging: A Cone Beam Computed Tomography (CBCT) scan provides a detailed 3D image of the bone structure, nerve paths, and vital anatomy. This imaging process itself is quick, typically 1 to 2 minutes for the patient.
Data Merging & Initial Planning: Once you have the digital impressions and CBCT data, these files are merged in specialized planning software. The clinician or a trained technician then performs an initial implant planning. This step can take anywhere from 15 to 30 minutes for a straightforward single implant case, longer for complex situations.
Phase 2: Guide Design & Approval (Clinical Team / Lab)
This is where the magic of digital dentistry truly comes alive, as the virtual plan transforms into a guide design.
Initial Design by Technician/Software: A dental technician, or advanced planning software, uses the merged data to design the surgical guide. This involves placing the virtual implants according to the plan and designing the guide's sleeve and body. For a single implant, this might take 30 minutes to 2 hours. More complex cases can extend this to several hours.
Clinician Review & Approval/Revisions: After the initial design, the clinician receives the proposed plan for review. This critical step ensures the guide aligns with the clinical strategy and patient needs. Reviewing and approving the design can take 1 to 2 business days in a busy practice. If revisions are needed, each set of changes might add 1 to 2 hours of technician time.
Phase 3: Fabrication (In-House / Lab)
With the design approved, the guide moves into physical production.
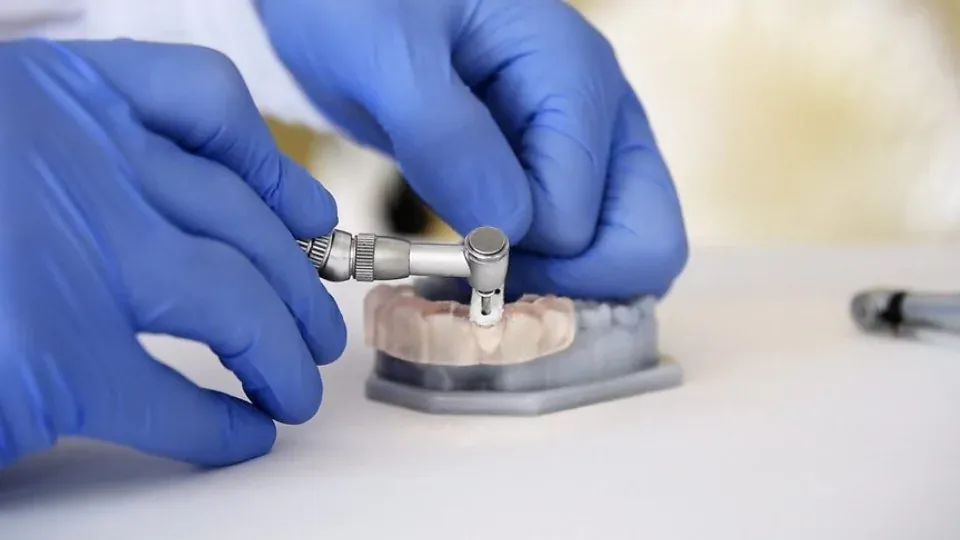
3D Printing: Most surgical guides today are produced using 3D printing technology. The actual printing time varies based on the type of 3D printer, the guide's size, and the chosen resin. A single guide can take 2 to 4 hours to print. Printing multiple guides or a full-arch guide might extend this to 6 hours or more.
Post-Processing: After printing, the guide needs post-processing, which typically involves washing it in an alcohol solution to remove uncured resin and then placing it in a UV light curing unit to fully harden the material. Support structures must also be carefully removed. This entire post-processing stage usually takes 30 to 60 minutes per guide.
Phase 4: Finishing & Delivery (In-House / Lab)
The final steps ensure the guide is ready for clinical use and reaches the clinician promptly.
Quality Control & Sterilization: Before packaging, the guide undergoes a final quality check to ensure it matches the design and has no defects. It is then sterilized. This takes about 15 to 30 minutes.
Shipping/Pickup: If you outsource your guide, the shipping time is a significant factor. Standard ground shipping can take 3 to 5 business days. Expedited shipping can reduce this to 1 to 2 days. For in-house production, this step is eliminated.
Overall, the journey from initial scan to ready-to-use guide can range from a highly efficient 8-hour process for simple in-house cases to 7-10 business days for complex outsourced guides with standard shipping.
The Great Debate: In-House vs. Outsourced Surgical Guide Production Time
The decision to produce surgical guides in-house or outsource them has significant implications for your overall timeline.
In-House Production (Pros & Cons for Time)
Pros: You have immediate access to the production process. Once a design is approved, printing can begin almost instantly, cutting out shipping time. This can be significantly faster for simple, urgent cases.
Cons: There's a substantial upfront investment in equipment and staff training. Staff availability and expertise can become a bottleneck, especially for complex designs.
Outsourced Production (Pros & Cons for Time)
Pros: Specialized dental labs often have highly trained technicians, advanced equipment, and established efficient workflows. They can handle a wider range of complexities and often offer rush services. Industry averages for outsourced guides often range from 3-5 business days, with rush options cutting it down to 1-2 days.
Cons: The primary drawback is shipping time. You are also reliant on the lab's schedule and communication efficiency.
Key Factors That Influence Surgical Guide Production Time
Several variables can impact how long it takes to produce a surgical guide:
- Case Complexity: A single implant takes far less time than a full-arch case requiring multiple implants or complex angulations.
- Data Quality: Poor-quality scans or incomplete patient data will cause delays.
- Communication & Revisions: Delays in clinician approval or multiple revision requests extend the timeline.
- Technology & Equipment: The efficiency of your scanner, software, and 3D printer all play a role.
- Lab Workload/Staff Availability: During peak periods, production might be delayed.
Strategies to Optimize & Expedite Your Surgical Guide Workflow
Dentists can implement several practical strategies to significantly reduce surgical guide production time:
- Proactive Planning: Gather all necessary patient data thoroughly and accurately during the initial consultation.
- Clear Communication: Provide detailed prescriptions and specific design requests to your lab or in-house team.
- Streamlined Approval Process: Designate specific times for reviewing surgical guide designs. Prompt feedback prevents delays.
- Leverage Digital Tools: Utilize modern planning software and cloud-based platforms for seamless data transfer.
- Consider a Hybrid Approach: Use in-house for simple cases and outsource complex ones.
- Invest in Training: A well-trained team ensures data is collected and processed efficiently.
The ROI of Efficiency: Why Speed Matters
While reducing surgical guide production time is a direct benefit, the ripple effects extend much further. Faster turnaround times mean you can schedule implant surgeries sooner, reducing patient wait times and increasing patient throughput.
Studies suggest guided surgery can reduce actual surgical time by 20-30% compared to freehand techniques. Guided implant placement boasts significantly higher accuracy (less than 1mm deviation at the apex), reducing complications and re-treatment time.
Ultimately, this results in enhanced patient satisfaction, as they experience a smoother, more efficient, and safer treatment journey.
Conclusion: Mastering the Timeline for Predictable Implant Success
Understanding the intricacies of surgical guide production time is more than just knowing how many hours a printer runs. It's about optimizing your entire digital implant workflow, from initial patient data collection to the final placement.
By strategically managing each phase, whether through efficient in-house processes or smart outsourcing, you can significantly enhance predictability, efficiency, and patient satisfaction in your practice.
Ready to optimize your guided surgery workflow? Contact Guided Excellence today or submit your case for expert consultation.