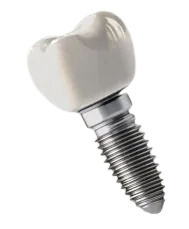

Starting implant dentistry is one of the most significant clinical expansions a general dentist can make. The learning curve feels steep in part because implant dentistry involves multiple interconnected disciplines: surgery, prosthetics, digital technology, and laboratory collaboration. Understanding how these disciplines connect, how each step flows into the next, makes the whole process much more approachable.
The digital implant workflow is systematic. Every case follows the same sequence of steps in the same order. Once you understand the system, individual case decisions become much clearer. This article explains each step in the digital implant workflow, what happens at each stage, what you are responsible for, and what the laboratory handles on your behalf.
Step 1: Patient Assessment and Treatment Planning
The workflow begins at the consultation appointment before any imaging is acquired. Effective pre-imaging planning prevents the most common workflow disruption: discovering after the scan that the protocol was inadequate for guide design.
Medical history review identifies contraindications and risk factors that affect implant outcomes. Bisphosphonate therapy, uncontrolled diabetes, active heavy smoking, severe osteoporosis, and prior radiation to the jaw all affect healing and may modify the treatment approach. None of these are absolute contraindications in most cases, but all require acknowledgment in the treatment plan.
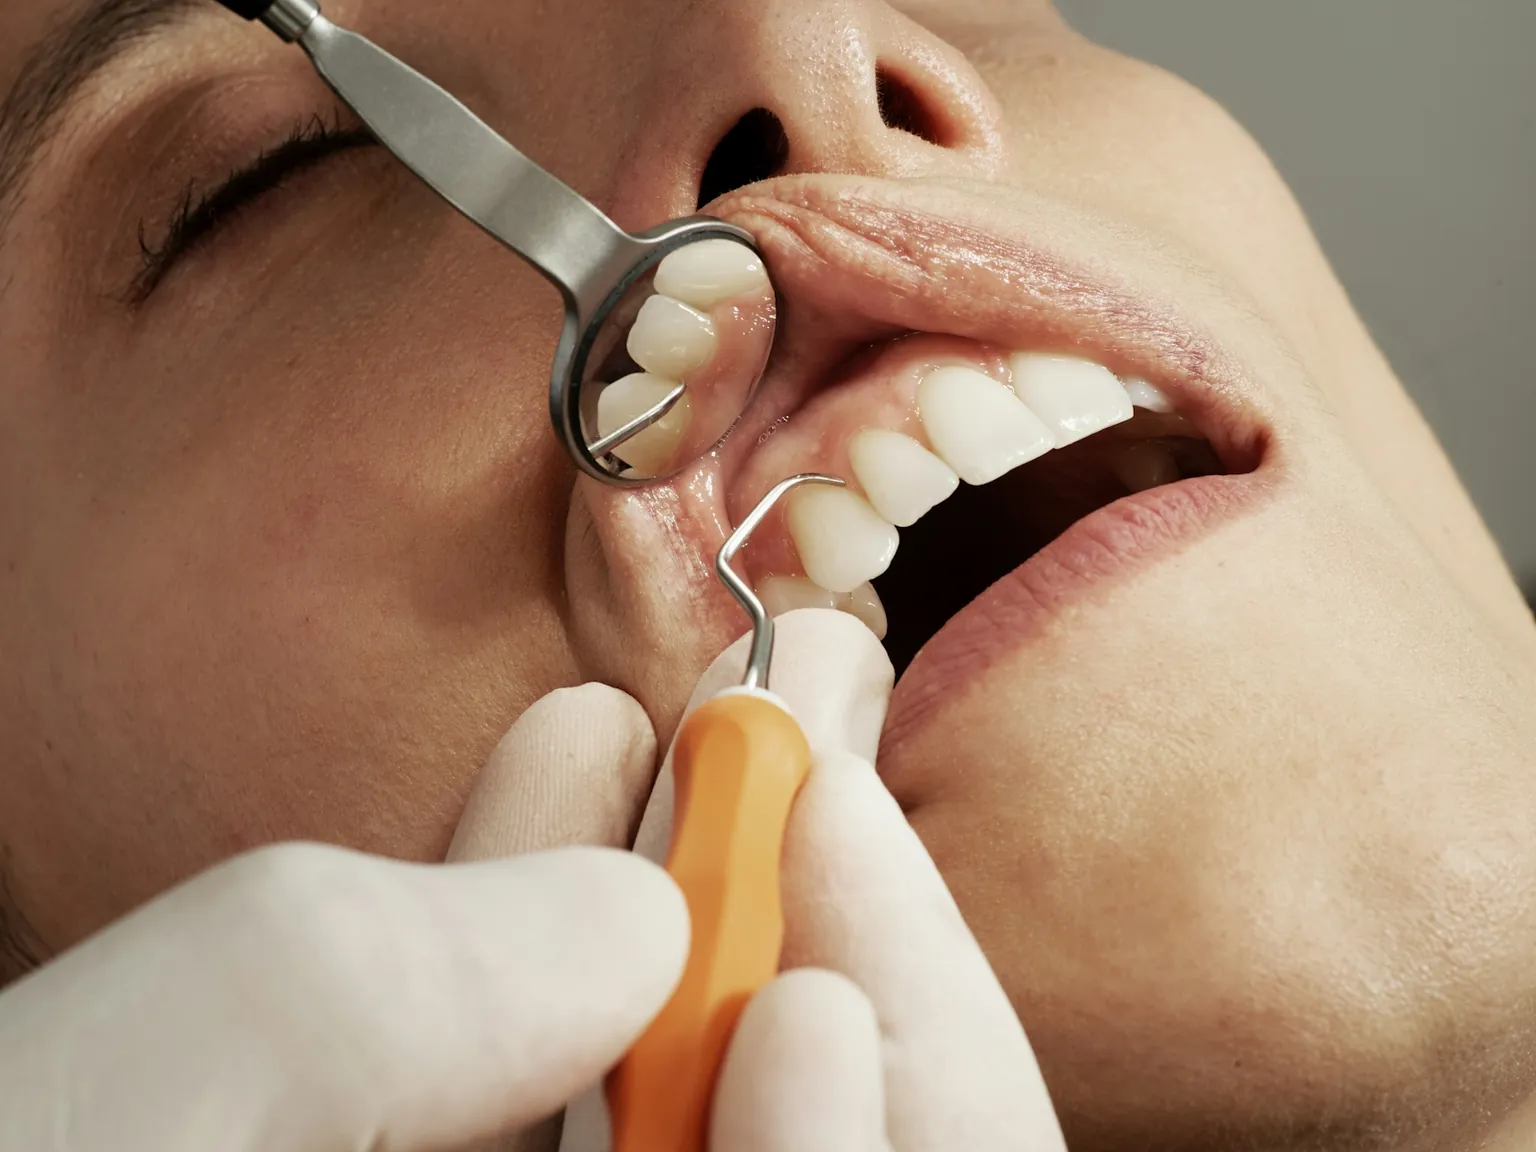
Clinical examination assesses the edentulous space dimensions, ridge width and height by palpation, tissue quality including keratinised tissue width, opposing dentition and occlusion, and adjacent tooth health. A panoramic OPG provides initial screening for obvious pathology and approximate bone height.
Before the consultation ends, confirm the planned implant system and product line, the number and locations of planned implants, the intended restoration type, and whether immediate loading is planned. These decisions affect the imaging protocol and case submission requirements that follow.
Step 2: CBCT Imaging
Cone beam computed tomography is the foundation of digital implant planning. Unlike a flat panoramic radiograph that shows approximate bone height in two dimensions, CBCT provides exact three-dimensional measurements of bone height and width at the precise planned implant location, the exact path of the inferior alveolar nerve canal, sinus floor height at each maxillary posterior site, adjacent root positions from any angle, and bone density information.
For guide-quality CBCT, the scan parameters must be set appropriately. Slice thickness must be 0.5 to 1.0mm, not the 1.5 to 2.0mm used for general diagnostic scans. The field of view must cover all planned implant sites with at least 10mm clearance in every direction. For full arch or multi-implant cases, a full arch FOV of 14x14cm or larger is required.
Patient positioning matters: natural head posture with centric occlusion, completely still during the 10 to 20 second acquisition. Review the scan before the patient is dismissed. Do not assume quality, motion artifact, inadequate field of view, and insufficient resolution are all visible on review and all are easier to address with the patient still present.
Step 3: Intraoral Digital Scanning
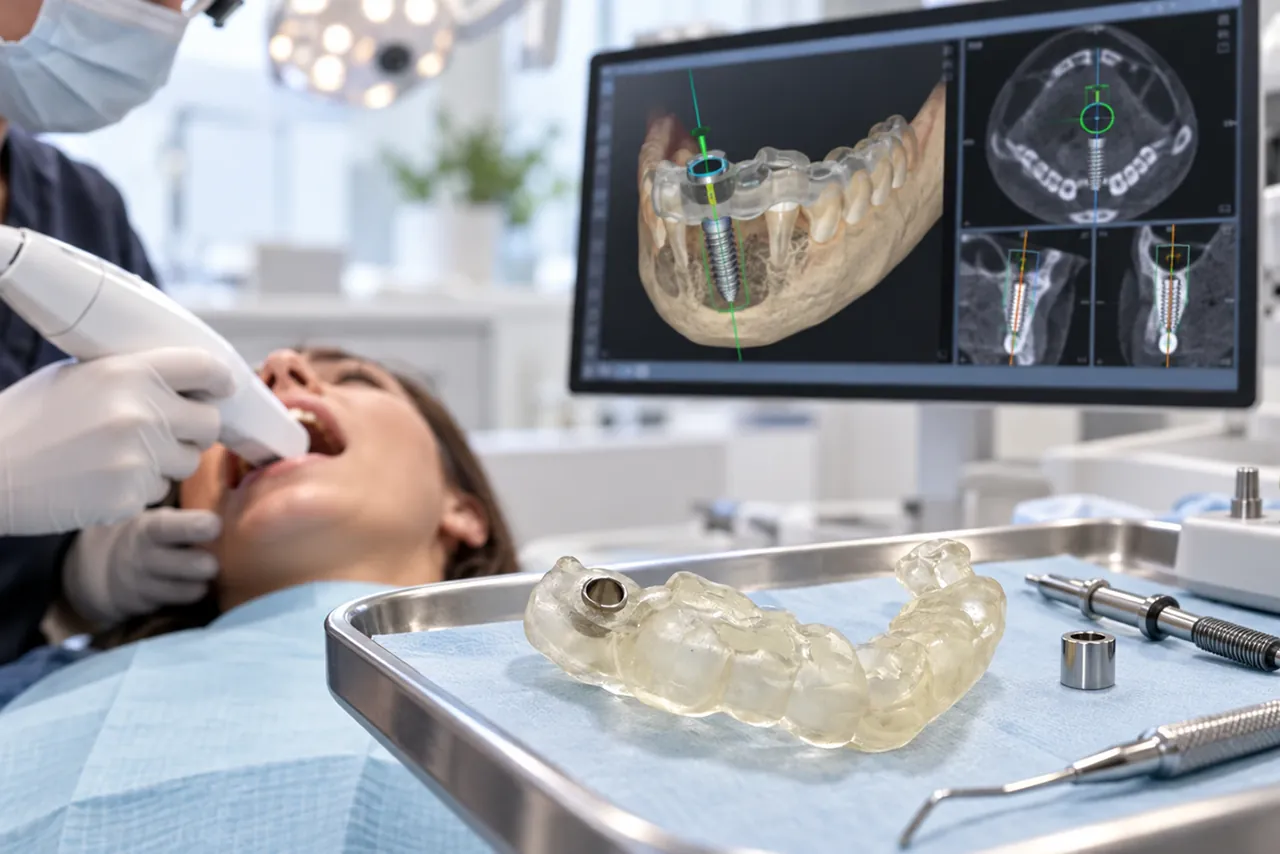
The intraoral scan captures the three-dimensional surface of the patient's teeth and soft tissues, the surfaces the surgical guide will seat on. This scan is combined with the CBCT data to create the complete patient model for guide design.
Scan coverage requirements: full upper arch from second molar to second molar, full lower arch, and a bite registration with the arches in centric occlusion. The implant site and adjacent teeth must be clearly captured including gingival margins and edentulous ridge topography.
Export the scan as an STL file and verify it opens correctly before submitting. An STL file that cannot be opened at submission causes delays that affect your surgery timeline. See our complete file requirements at our surgical guide submission portal.
Step 4: Case Submission to the Guide Laboratory
For new implant dentists, outsourcing case planning and guide fabrication to a specialist laboratory is the most practical and efficient starting point. You do not need to purchase or learn implant planning software. The laboratory handles the digital planning and designs the guide from your imaging and case information.
A complete submission includes three components. First, the CBCT DICOM files, the complete folder from your CBCT software export, not a compressed image file or PDF. Second, the intraoral scan STL file. Third, the completed case information form specifying the implant manufacturer and specific product line, implant diameter and length preferences, tooth numbers for each implant, surgical approach, restoration type, and surgery date.
Submit at least 3 weeks before planned surgery. Standard delivery from Guided Excellence is 5 to 8 business days. Submitting with adequate lead time prevents the timeline pressure that leads to expedited fees or case rescheduling.
Step 5: Laboratory Planning and Guide Design
Once the laboratory receives your submission, the planning and design process begins. The CBCT and intraoral scan are registered into a unified three-dimensional patient model. Virtual implants are placed in positions that satisfy bone anatomy, safety margin requirements, and prosthetic requirements simultaneously. The guide geometry is designed to conform to the patient's tooth and tissue anatomy with drill sleeves positioned and angled for each planned implant. At Guided Excellence, Dr. Baghoomian reviews complex cases personally before fabrication. Read more about our team at our about page.
For your first cases, consider requesting a design review, a three-dimensional visualisation of the proposed guide design that you can review and approve before fabrication begins. Design review adds 1 to 2 days to the timeline but ensures the guide matches your clinical intent before materials are committed.
Step 6: Guide Fabrication, Quality Control, and Delivery
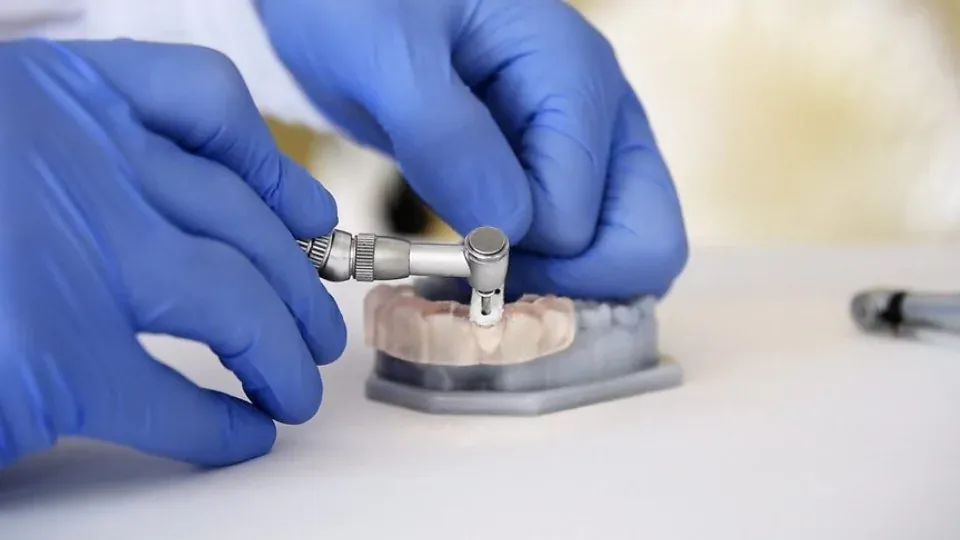
After design approval, the guide is 3D printed, post-processed, fitted with precision metal sleeves, dimensionally inspected, verified for fit on the patient model, sterilised, and packaged. Standard fabrication and delivery takes 3 to 5 business days. The guide arrives sterilised and ready for clinical use. See our complete manufacturing and quality process.
When the guide arrives, verify the package integrity and sterilisation indicators before storing it, confirm the patient identifier matches your case record, inspect visually for no defects, and review any included documentation about the drill sequence and guide design notes. Do this immediately on receipt, not on surgery day.
Step 7: Surgical Placement
On surgery day, the implant surgery itself proceeds. Adequate local anaesthetic is essential, patient movement during drilling reduces guide accuracy. With the guide sterilised and ready, position it on the anatomy in the correct orientation.
The most important intraoperative step in guided implant surgery is seating verification before any drilling begins. Visual check: no gaps between the guide and the seating surface from any direction. Tactile check: apply gentle bilateral finger pressure, no rocking in any direction. If retention pins are part of the guide design, insert all pins fully. Only begin drilling when completely satisfied the guide is fully seated.
Follow the drill sequence specified for your implant system, inserting each drill into its corresponding sleeve. The sleeve controls direction; the depth stop controls depth. Trust the guide, do not apply lateral pressure or make directional corrections. Continuous saline irrigation throughout drilling prevents bone heat necrosis. Our custom implant surgical guides are designed for your specific implant system with the exact sleeve diameters for your drill sequence.
After completing all drilling, remove the guide and place the implant into the prepared osteotomy following the manufacturer's torque recommendations. Take a periapical radiograph after placement, especially important for your early cases and for any nerve-proximity or esthetic zone cases.
Step 8: Healing and Restoration
Standard implant post-operative care applies regardless of whether guides were used: soft diet, chlorhexidine rinse, analgesics as needed, and follow-up at 1 to 2 weeks. For delayed loading protocols, a healing abutment or cover screw is placed at surgery and the patient returns at 3 to 4 months for osseointegration confirmation before crown fabrication.
The restoration phase proceeds as standard implant prosthetics. When the implant is at the position the guide delivered, the prosthetically driven position, the crown designed for that position fits correctly without modification. This is the practical expression of the planning predictability that guided surgery enables.
See our flat-rate guide pricing to plan your case economics, and reach us through our case submission portal to get started with your first guided case.