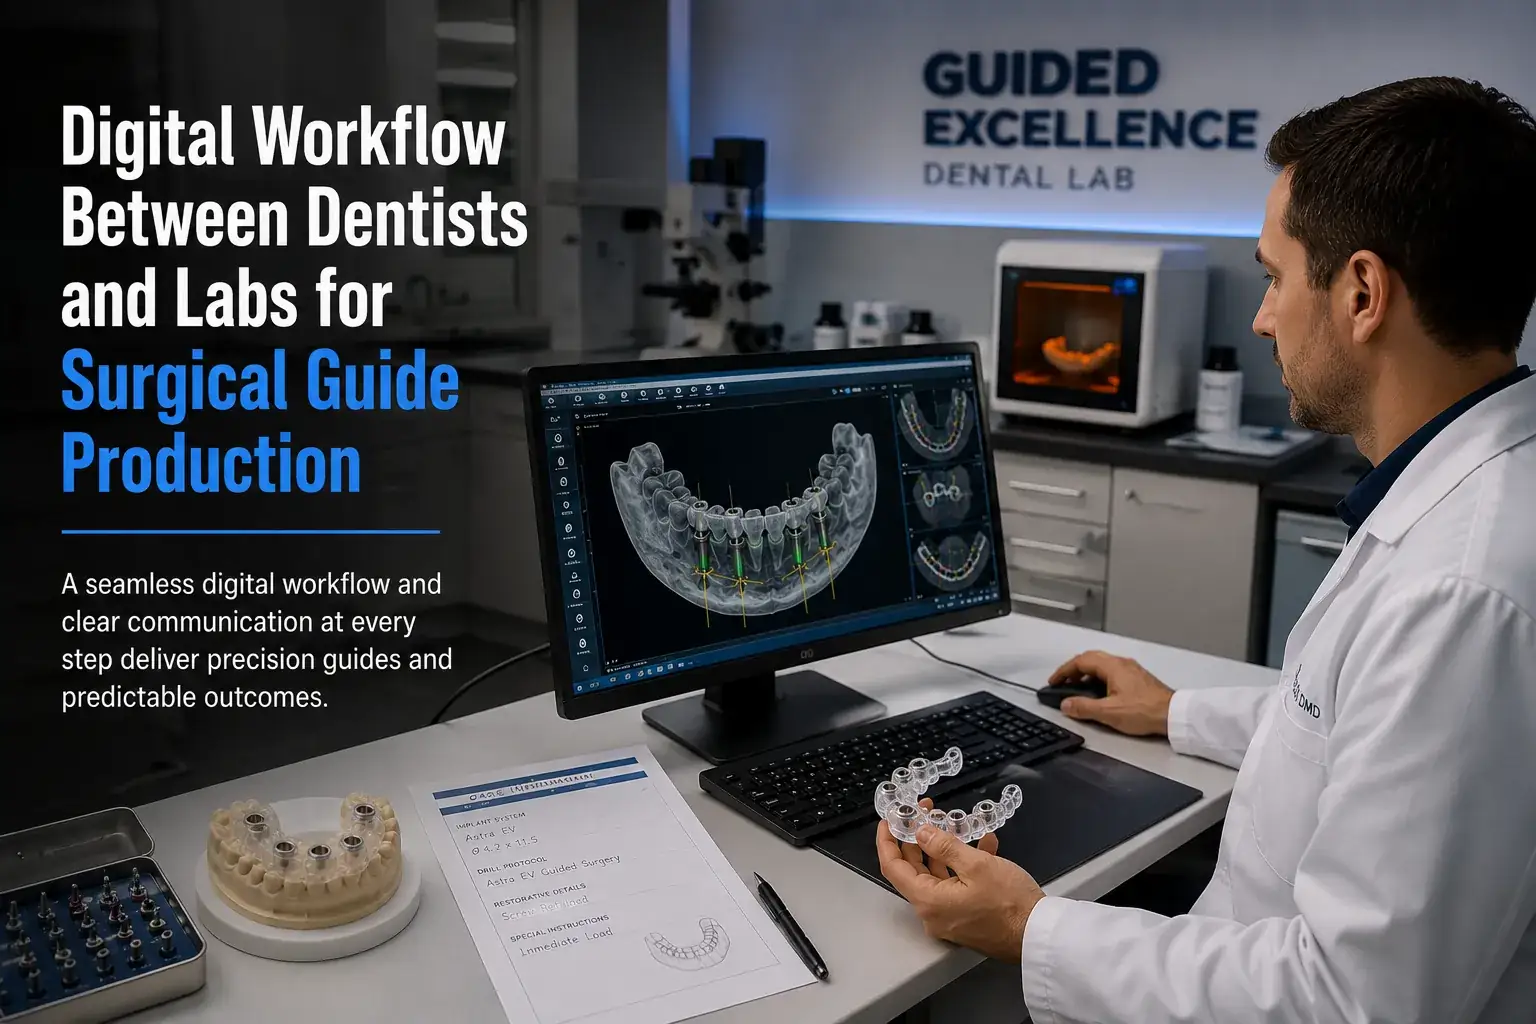

Surgical guide production is a collaborative process. The quality of the finished guide depends not only on what the lab does with the information it receives, but on how well the dentist prepares, organizes, and communicates that information in the first place. The digital workflow between dentist and lab is the pipeline through which clinical intent becomes a physical precision instrument.
When this pipeline works well, correct files, complete case information, clear communication at each handoff point, guides arrive that match clinical requirements precisely. When the pipeline has gaps, assumptions fill them, and guides reflect the lab's interpretation of incomplete instructions rather than the dentist's actual clinical plan.
This article maps the complete digital workflow from initial case planning through guide delivery, identifying the key handoff points and what each party needs to do to keep the workflow efficient and accurate.
Phase 1: Clinical Planning (Dentist Side)
Patient Assessment and Treatment Planning
The digital workflow begins at the case planning stage, before any imaging is acquired. Effective planning before imaging prevents the most common workflow disruption: discovering after the scan that the field of view is too small, the slice thickness is inappropriate for guide design, or the intraoral scan is missing critical coverage areas.
Before scheduling imaging, confirm: the planned implant system and drill protocol, the number and location of implants, the restoration type and whether immediate loading is planned, the surgical approach, and any known anatomical concerns from existing radiographs.
Imaging Acquisition
With the case planned, imaging is acquired to the specifications that surgical guide design requires. CBCT parameters must be set for guide-quality acquisition: 0.5 to 1.0mm slice thickness, adequate field of view covering the implant sites, and full patient stabilization during acquisition. The intraoral scan must capture full arches with opposing dentition and bite registration.
Both imaging datasets should be reviewed before patient dismissal. Problems identified at this stage are resolved immediately. Problems discovered after the patient leaves require rescheduling, which delays the entire case.
Phase 2: Case Submission (First Dentist-Lab Handoff)
The case submission is the primary handoff from dentist to lab. It must include the complete digital package: CBCT DICOM files, intraoral scan STL files, and a fully completed case information form. Our guided case submission process is designed to capture all required information in a single organized submission.
The case information form is where clinical intent is communicated. The implant system specification must be exact, not just the manufacturer but the specific product line and drill protocol. Immediate loading requirements must be explicitly noted. Anatomical concerns must be communicated. Prosthetic requirements that affect implant position, screw access angulation, specific emergence depth, must be specified.
Submission timing is part of the workflow discipline: cases should be submitted minimum 3 weeks before planned surgery. This allows standard fabrication and shipping timelines without creating timeline pressure that forces compromises.
Phase 3: Lab Review and Case Acceptance (Lab Side)
Within 24 to 48 hours of submission, the lab reviews the submitted materials against the requirements for guide design. This review confirms:
- CBCT quality: adequate slice thickness, field of view, and artifact level for guide-grade planning
- Intraoral scan quality: complete arch coverage, no mesh holes in critical areas, adequate soft tissue capture
- Case form completeness: all required fields are filled with specific, actionable information
- Clinical feasibility: planned implant positions are achievable within the anatomy provided
If any element is inadequate, the lab contacts the dentist immediately with specific feedback. The workflow pauses until deficiencies are resolved, a brief delay at this stage prevents a longer delay or a guide revision after fabrication.
Phase 4: Virtual Planning and Guide Design (Lab Side)
With complete materials accepted, the lab performs the technical planning and design work. The CBCT and intraoral scan are registered into a unified three-dimensional patient model. Virtual implants are placed in positions that satisfy the case specification, bone anatomy, safety margins, and prosthetic requirements all addressed simultaneously.
The guide geometry is designed around the approved implant plan. Drill sleeves are positioned and angled to deliver each implant to its planned position. The seating surface is designed to conform to the patient's tooth and tissue anatomy. Our dental surgical guide design team reviews every design against the case specification before the guide proceeds to fabrication.
For complex cases, Guided Excellence offers a design review step: the proposed guide design is shared with the dentist as a three-dimensional visualization for review and approval before fabrication begins. This optional step adds 1 to 2 days to the timeline but ensures the guide design matches clinical intent before materials are committed.
Phase 5: Design Review (Second Dentist-Lab Handoff, Optional)
Design review is a bidirectional communication step that many practices underutilize. When the lab shares the proposed guide design, the dentist has an opportunity to verify:
- Implant positions appear as intended relative to adjacent anatomy
- Guide body geometry accommodates the planned surgical approach
- Inspection windows are positioned at clinically useful locations
- Retention pin positions are compatible with the planned surgical access
- Sleeve angulations appear consistent with the prosthetic plan
Feedback at this stage is specific and visual, both parties looking at the same three-dimensional design simultaneously. Changes requested at design review are implemented before fabrication begins, at no additional cost or material waste.
Phase 6: Fabrication (Lab Side)
With design approved, fabrication proceeds through the production workflow: printing, washing, post-curing, sleeve insertion, dimensional inspection, model fit testing, and sterilization. Each stage has defined quality checkpoints. The total fabrication timeline is 3 to 5 business days for standard cases. See our complete manufacturing process.
The dentist's role during fabrication is minimal, confirm that the surgery schedule remains compatible with the anticipated delivery date and contact the lab if timeline changes occur. Any changes to the surgery date should be communicated as early as possible.
Phase 7: Delivery and Receipt Verification (Third Handoff)
When the guide arrives, the dentist completes the final handoff verification: confirming that the package is intact, the sterilization indicators are correct, the patient identifier matches, and the physical guide shows no damage. Any concern identified at receipt should be communicated to the lab immediately.
This receipt verification is the last opportunity to identify problems before surgery day. A guide with a confirmed defect should be replaced before surgery is scheduled, not used with reservations about its quality. Contact our team as soon as concerns are identified, we prioritize replacement guide production. Reach us through our case submission and support portal.
Phase 8: Post-Surgery Feedback (Closing the Loop)
The digital workflow does not end at guide delivery. Post-surgery feedback from the dentist to the lab closes the information loop and enables continuous improvement. Did the guide seat as expected? Were there any observations about drilling, implant position, or prosthetic fit that would be useful for future case design?
Labs that receive systematic feedback improve their designs over time, learning individual surgeons' preferences, identifying any systematic design tendencies that should be adjusted, and building a collaborative relationship that produces progressively better guides case after case.