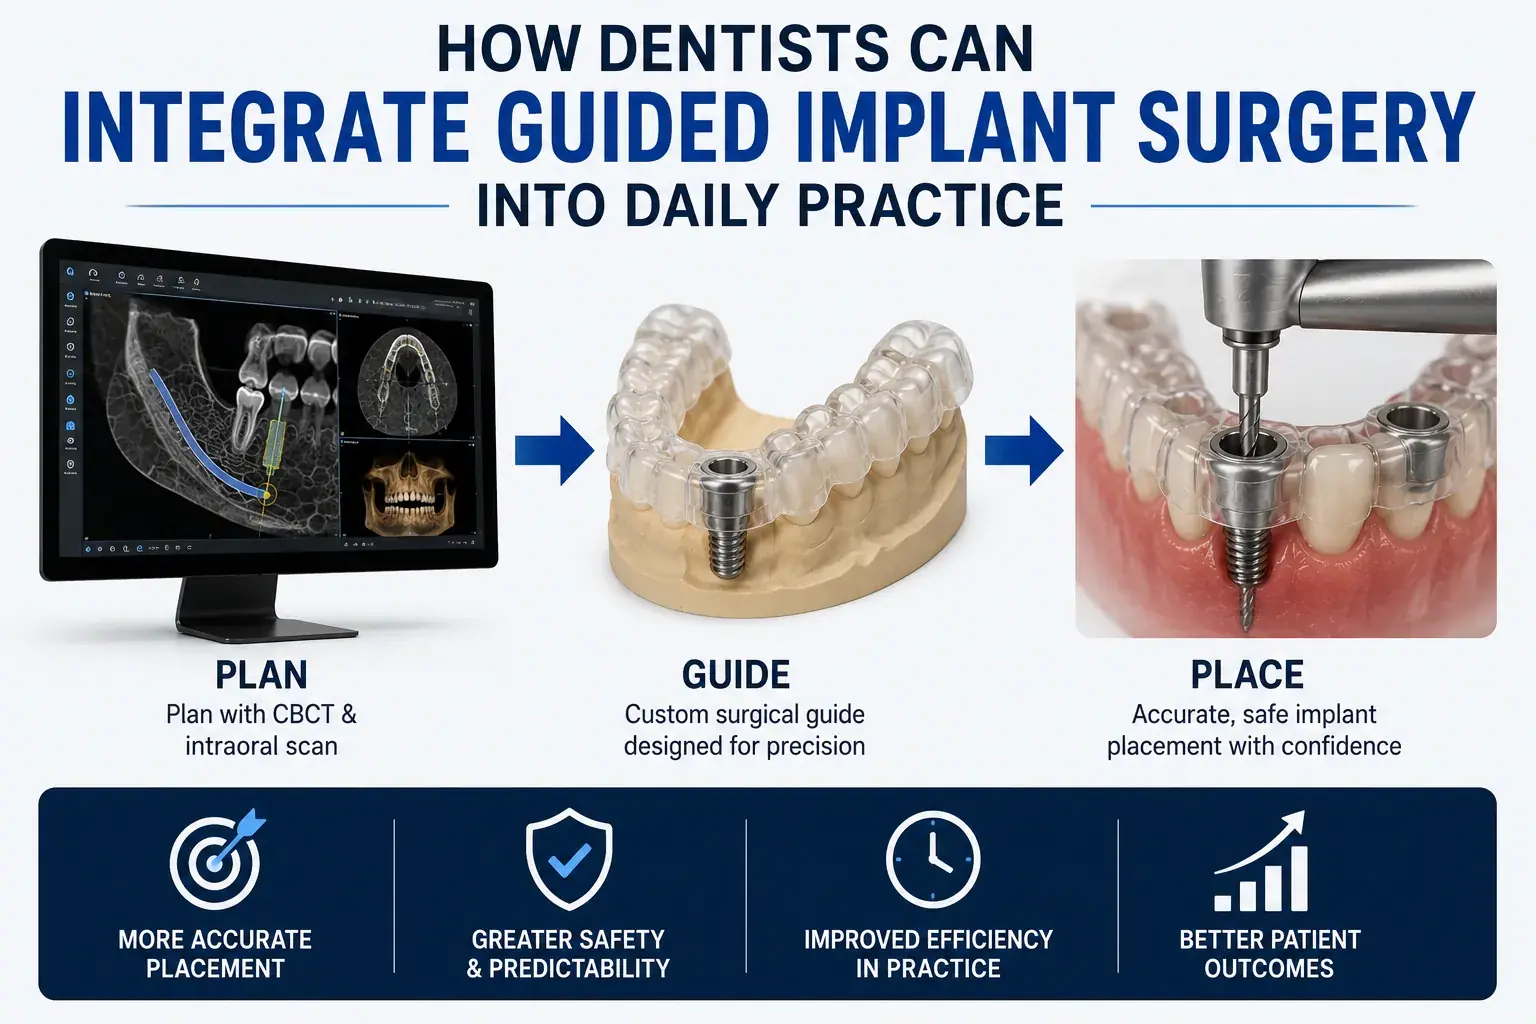

For dentists who place implants primarily with freehand technique, adopting guided surgery can feel like a significant operational change. In practice, the transition is smoother than it appears. The physical surgical technique changes very little. The primary adjustment is administrative, building new pre-operative workflow habits around imaging protocols, case submission timelines, and team roles.
Most practices complete the transition within 2 to 3 months of their first guided case. By case ten, the workflow is routine. This article provides a practical roadmap for integration that minimizes disruption and builds habits that make guided surgery sustainable long-term.
Step 1: Choose Your First Cases Strategically
The easiest path to adoption is starting with cases where anatomical risk is minimal and guide seating is unambiguous. The best first-time case for a dental implant surgical guide is a straightforward, single-tooth posterior gap (such as a single molar) with abundant bone volume and a safe distance from vital structures. While experienced specialists may place simple posterior implants freehand, utilizing a surgical guide during early adoption significantly reduces potential dimensional deviations compared with freehand surgery.
Ideal anatomical criteria for your first 3 to 5 cases:
- Tooth-Supported Stability: Choose a partially edentulous arch where the surgical guide rests firmly on stable adjacent natural teeth, providing the highest level of support and minimizing movement.
- Ample Interdental Space: Ensure there is enough physical space between adjacent teeth to accommodate standard drill sleeves (typically requiring a minimum diameter of 5 mm) without causing guide misfit or tooth collision.
- Favorable Bone Volume: Select sites with thick, well-keratinized ridge widths that do not require simultaneous bone grafting, ridge expansion, or vertical bone reduction.
- Safe Margins: Keep the planned site well clear of critical anatomical hazards like the inferior alveolar nerve in the mandible or the maxillary sinus floor, avoiding high-risk surgical trajectories.
Avoid for first cases: Esthetic zone (anterior) implants, immediate extraction sockets, full-arch restorations, severe CBCT metal artifacts, and unusual anatomical presentations. Save high-complexity and high-risk cases until your practice has completed 3 to 5 routine posterior guides.
Step 2: Establish Written Imaging Protocols
Establish written imaging protocols for CBCT and intraoral scanning that any team member can follow consistently. Post these at each piece of equipment. CBCT protocol: 0.5 to 1.0mm slice thickness, adequate field of view, patient in natural head posture with centric occlusion, and review before patient dismissal. Intraoral scan protocol: full arch with opposing and bite registration, verify coverage, export as STL. See our complete surgical guide submission guidelines for specific file requirements.
Step 3: Establish Timeline Discipline
The most common integration failure is timeline management. Cases submitted the week before surgery create unnecessary pressure. When a patient accepts implant treatment and a surgery date is scheduled, immediately schedule the submission deadline in the same calendar entry: surgery date minus 3 weeks equals submission target date. Assign a specific team member as the submission owner, the person responsible for confirming CBCT, intraoral scan, and case form are ready and submitted on target.
This single habit change, concurrent scheduling of surgery date and submission deadline, prevents 90% of timeline problems that new guide users experience.
Step 4: Assign Clear Team Roles
- Imaging coordinator: schedules and captures CBCT and intraoral scans per protocol, exports files, confirms file quality before submission
- Submission coordinator: completes the case information form, uploads files, confirms receipt from lab, and tracks expected delivery date
- Surgical assistant: performs guide receipt verification on delivery, understands seating verification protocol, and knows the drill sequence for the planned guide
A 30-minute team briefing before the first guided case covers what the guide is, why seating verification matters, and each team member's role. Most staff adapt quickly to the guided surgery workflow.
Step 5: Manage the Intraoperative Transition
The intraoperative adjustment from freehand to guided surgery is smaller than most surgeons anticipate. The positioning, anesthesia, and access steps are identical. The difference is that instead of positioning the drill by eye and tactile judgment, you insert it into a sleeve that does the positioning for you.
The adjustment that requires the most conscious attention is resisting the urge to apply lateral pressure to the drill during insertion. Freehand surgeons habitually apply subtle directional pressure to guide the drill, with a guide, this habit works against the sleeve constraint. Insert drills straight into the sleeve with the guide fully seated, and let the sleeve define the direction.
Seating verification before any drilling is non-negotiable: visual check (no gaps), tactile check (no rocking), and if retention pins are present, confirm they are fully seated. This takes 60 to 90 seconds and is the most important intraoperative action for ensuring your custom implant surgical guide delivers its designed accuracy.
Step 6: Review Early Cases and Provide Feedback
After each of your first 5 guided cases, take 5 minutes to review: did the guide seat completely and passively on first try? Did all drills move smoothly through the sleeves? Does the post-operative radiograph show the implant where expected? Did the provisional or healing abutment seat without adjustment?
Share observations with Guided Excellence. Labs that receive systematic feedback improve their designs over time, building a collaborative relationship that produces progressively better guides. Contact our team after cases through our case submission and support portal.
Step 7: Expand Your Case Indications Progressively
Once your guided surgery workflow is established, typically after 5 to 10 cases, begin extending it to more case types. Add posterior multi-implant cases once single-unit workflow is comfortable. Add full arch cases after multi-implant guided experience. Consider using guides routinely across all implant cases for workflow consistency and maximum patient protection.
Most practices that trial guided surgery on selected cases eventually standardize it across all implant placements. The combination of better outcomes, reduced cognitive load, and time savings makes this a natural progression. Review our surgical guide pricing to evaluate your case economics, and submit your next case through our online portal to get started.