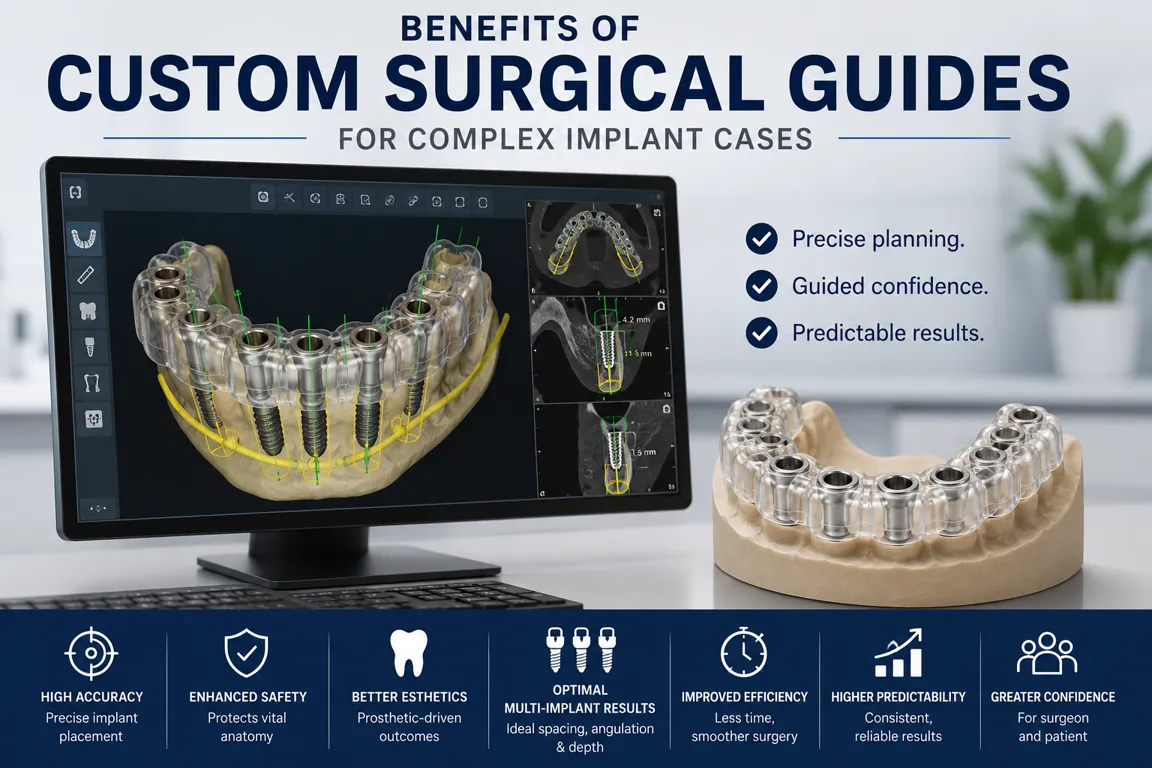

In straightforward implant cases, single posterior tooth, generous bone, low esthetic demand, surgical guides primarily deliver efficiency and accuracy improvements. The case would likely succeed without a guide; the guide makes it faster, more precise, and more consistent.
In complex cases, the relationship changes. Narrow bone, esthetic zone requirements, proximity to critical anatomy, immediate implant placement, and full arch restorations all create scenarios where guide accuracy is not simply beneficial, it is the enabling factor for a predictable outcome. Without a guide, these cases carry risks and uncertainties that experienced clinicians manage through skill and caution. With a guide, those same cases become reliably executable.
This article examines the specific benefits that custom surgical guides deliver in each major category of complex implant case.
Complex Scenario 1: Esthetic Zone Cases
The maxillary anterior zone (canine to canine) is where implant position is most consequential and least forgiving. Crown esthetics, gingival architecture, symmetry, and long-term tissue stability all depend on millimeter-level implant positioning in three dimensions simultaneously.
The specific benefits of custom guides in the esthetic zone:
- Depth precision: the guide's depth stop positions the implant platform at the exact emergence depth for natural-looking soft tissue support, typically 3 to 4mm apical to the gingival margin
- Bucco-lingual position: the sleeve constrains the drill to the prosthetically planned bucco-lingual axis, avoiding the buccal cortical plate violation that freehand cases produce with measurable frequency
- Prosthetic integration: the guide is designed around the final restoration design, the crown planned for the guide position fits the implant placed at that position without modification
Esthetic zone cases are where guide investment has the clearest return. The cost of a revision, additional surgery, grafting, replacement implant, new restoration, far exceeds the guide cost on a single case. Submit your esthetic zone cases to Guided Excellence with the planned restoration design for optimal guide integration.
Complex Scenario 2: Limited Bone Volume
When bone height above the nerve canal is 10 to 12mm and bone width at the ridge is 5 to 6mm, the acceptable implant placement zone is narrow in all dimensions simultaneously. Freehand surgery in this geometry carries meaningful risk of cortical perforation, nerve canal proximity, or implant placement outside the available bone envelope.
Custom guides provide these benefits in limited bone cases:
- Depth-controlled drilling: the sleeve stop halts every drill at the calculated depth, maintaining the required safety margin above the nerve or sinus regardless of bone resistance variation
- Angulation constraint: the sleeve prevents the drill from following softer bone paths or deviating toward thinner cortical areas
- Confidence to use optimal implant length: with guide-controlled depth accuracy, the surgeon can confidently place the longest implant that safely fits the anatomy, maximizing bone-to-implant contact and primary stability
Complex Scenario 3: Immediate Implant Placement
Immediate implant placement after extraction presents a specific challenge: the fresh socket creates a path of least resistance that guides freehand drills toward the socket apex. The socket apex is frequently not the prosthetically ideal implant position, particularly in the esthetic zone where buccal plate thickness varies and prosthetic axis requirements are strict.
Custom guide benefits for immediate placement:
- Overriding socket anatomy: the guide constrains the drill to the planned prosthetic axis regardless of socket depth and direction, the drill follows the guide, not the socket
- Consistent depth despite variable bone: immediate cases often have unpredictable bone resistance as drills pass from socket into apical bone, guide depth stops prevent depth uncertainty
- Flapless immediate placement: guides enable flapless immediate implant placement in cases where anatomy supports this approach, reducing trauma and healing time
Our implant surgical guides for immediate placement cases are designed with specific attention to socket anatomy and the anticipated direction of drill path deviation from bone anatomy.
Complex Scenario 4: Multiple Adjacent Implants
When two, three, or more implants are placed adjacent to each other for a bridge or multi-unit restoration, the complexity compounds. Each implant must be at its own correct position and also in the correct relationship to every other implant. Spacing (minimum 3mm between platforms), parallelism or designed angulation, and depth harmony must all be achieved simultaneously.
A single custom guide controls all implant positions simultaneously as a unified mechanical constraint. The inter-implant relationships encoded in the guide design, spacing, angulation relationships, depth coordination, are delivered mechanically rather than estimated during sequential freehand placements.
The prosthetic benefit is immediate: a bridge designed for the planned implant positions seats passively on the first try when the implants are placed at those positions. Freehand multi-implant cases routinely require chairside adjustments to provisional bridges, sometimes requiring a complete prosthetic redesign.
Complex Scenario 5: Full Arch Restoration (All-on-4 / All-on-6)
Full arch restoration is the most demanding scenario in implant dentistry, and the scenario where custom guides deliver the largest clinical benefit over freehand surgery.
The cumulative accuracy benefit: four to six individually-controlled implant positions, all within 0.5 to 1.0mm of plan rather than each subject to 2 to 3mm freehand variability. The prosthetic benefit: an immediately-loaded provisional designed for the planned implant positions seats without adjustment. The time benefit: guided full arch surgery typically completes 60 to 120 minutes faster than freehand, a reduction with significant patient safety and economic implications.
At Guided Excellence, full arch guide pricing starts at $150 base plus $50 per additional implant, a 4-implant All-on-4 guide is $300. See our complete guide pricing and submit your full arch case for comprehensive design.
Complex Scenario 6: Revision and Compromised Anatomy
Revision implant cases, placing implants in sites with previous bone grafting, adjacent to existing implants, or in anatomy modified by trauma or pathology, involve anatomy that may not match standard parameters. CBCT-guided planning and custom guides are particularly valuable here because they account for the specific modified anatomy rather than standard anatomical assumptions.
Guides designed from the actual post-graft or post-treatment CBCT deliver implants to positions that the surgeon planned using accurate anatomical data, not estimated positions that assume standard anatomical relationships.