
A surgical guide is only as precise as the data it was designed from. The imaging quality, the completeness of case information, and the clarity of clinical requirements that you provide when ordering a guide directly determine what arrives at your practice.
This article explains exactly what data is required when submitting a surgical guide case, why each element matters, common submission errors that delay or compromise guide quality, and how to prepare a submission that gives the lab everything it needs to design the right guide the first time.
The Three Components of a Complete Surgical Guide Submission
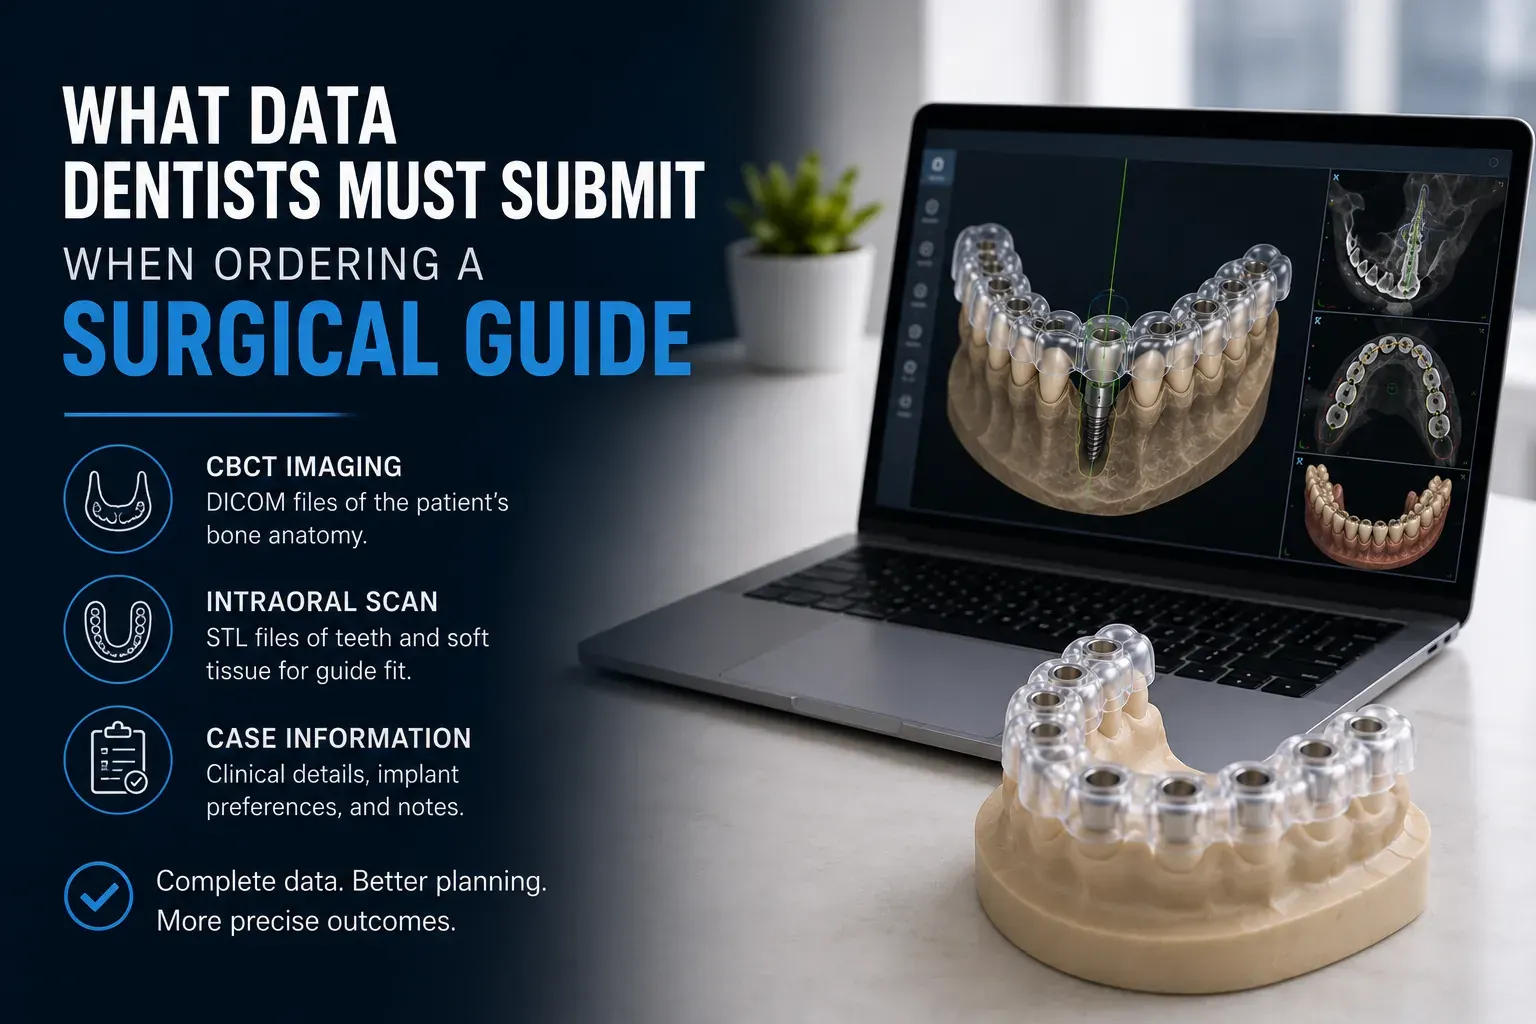
Every surgical guide order requires three categories of data: imaging files that define the patient's three-dimensional anatomy, a case information form that defines the clinical requirements, and clinical notes that capture anything the standard form does not cover. A submission missing any component is incomplete and will require follow-up before design can begin.
Component 1: CBCT Imaging, The Bone Blueprint
What to Submit
The CBCT dataset must be exported in DICOM format, the international standard for medical imaging that all implant planning software accepts. This is a folder containing hundreds to thousands of individual slice files, typically totaling 50 to 500 MB. Submit the complete DICOM folder, not a single compressed image file or PDF export.
Technical Requirements
- Slice thickness: 0.5 to 1.0mm maximum for surgical guide planning
- Field of view: covers the entire implant site with minimum 10mm clearance in every direction
- Full arch FOV of 14x14cm or larger for multiple implant or full arch cases
- Adequate resolution for nerve canal and sinus floor visualization
- Minimal motion artifact, review before patient leaves and rescan if needed
What the Lab Uses CBCT Data For
CBCT data provides the bone anatomy that surgical guide design relies on: bone height measurements, nerve canal position, sinus floor height, adjacent root locations, bone density assessment, and cortical plate thickness. Without complete, high-quality CBCT data, none of these safety-critical measurements can be verified.
Component 2: Intraoral Scan, The Surface Map
What to Submit
The intraoral scan must be exported as an STL file. This file represents the three-dimensional surface of the patient's teeth and soft tissues, the surfaces the surgical guide will seat on. Some scanners export in proprietary formats that must be converted to STL before submission.
Scan Coverage Requirements
- Full upper arch from second molar to second molar
- Full lower arch from second molar to second molar
- Bite registration, arches in centric occlusion captured together
- Gingival margins clearly visible throughout, especially at the implant site
- Edentulous ridge fully captured with no holes or missing areas in the mesh
Why Scan Quality Directly Affects Guide Fit
The surgical guide's seating surface is designed to conform exactly to the patient's tooth and tissue anatomy as captured in the intraoral scan. If the scan has gaps, artifacts, or poor coverage of the implant site, the seating surface design will be inaccurate, and the guide will rock or fail to seat fully at surgery, eliminating the precision benefit of using a guide in the first place.
Component 3: Case Information Form, The Clinical Brief
The case information form is where you communicate your clinical requirements to the design team. This is the component dentists most often submit incompletely, and incomplete case information is the leading cause of design delays and guide revisions.
Patient Identification
- Patient identifier (initials, chart number, or unique reference, not full name for HIPAA compliance)
- Patient date of birth
- Surgery date or target date range
Implant Specifications, Be Specific
This is the most critical section of the case form. The guide drill sleeves are designed for the exact inner diameters of your specific implant system's drill sequence. If the wrong system is specified, the guide will be useless.
- Implant manufacturer (Nobel Biocare, Straumann, Zimmer Biomet, Dentsply Sirona, etc.)
- Implant product line (Nobel Active, Straumann Bone Level, Zimmer Tapered Screw-Vent, etc.)
- Drill protocol version, some systems have multiple protocols for different bone densities
- Implant diameter preference (if you have predetermined this)
- Implant length preference (if you have predetermined this based on CBCT review)
Case Anatomy and Surgery Details
- Tooth number(s) for each planned implant, list each one
- Total number of implants being placed
- Surgical approach: flapless, limited flap (papilla-sparing), or open flap
- Known anatomical concerns: nerve proximity, thin buccal plate, previous graft, sinus proximity
Prosthetic Plan
- Type of restoration: single crown, multi-unit bridge, full arch prosthesis
- Retention method: screw-retained or cement-retained
- Whether immediate loading or same-day provisional placement is planned
- Any specific angulation requirements for screw access
Immediate loading is worth highlighting specifically: when implants will be loaded on the same day, guide design requirements are more demanding, and the design team needs to know this upfront rather than discovering it after fabrication has begun.
Additional Clinical Notes
Use the notes field generously. Things that belong in clinical notes include: information about the patient's bone quality from previous surgery, tissue biotype observations, prosthetic requirements that the standard form fields do not capture, coordination with a separate restorative dentist, and any timing constraints. When you submit through our guided case submission portal, the notes field accepts unlimited text, use it.
File Format and Submission Method
DICOM files are large, typically 100 to 500 MB. Email is not suitable for CBCT submission. Use a secure file transfer portal, cloud storage with a shared link, or a dedicated dental file transfer service. All file transfer should be encrypted and HIPAA-compliant.
STL files are smaller (typically 10 to 100 MB) but should also be transferred via encrypted methods to protect patient data.
Before submitting, verify that DICOM files open correctly in your CBCT software. Verify that the STL file opens correctly and shows complete, hole-free coverage. A corrupted file that is discovered after submission delays the entire case.
What Happens After Submission
Guided Excellence reviews every submission within 24 to 48 hours of receipt. We confirm that imaging quality is adequate for guide design, that the case form is complete, and that the clinical requirements are feasible. If anything is missing or unclear, we contact you immediately, not after design has begun. This initial review prevents the scenario where a guide is fabricated and then fails to meet clinical requirements because of a communication gap. See our complete manufacturing and design process.
Common Submission Errors and How to Avoid Them
- Wrong file format: submitting a panoramic image or PDF instead of DICOM, always export the full DICOM folder
- Incorrect implant system: specifying the brand name without the product line creates ambiguity, be specific
- Missing opposing arch scan: guides require bite registration for proper design, always include the opposing arch
- Not specifying immediate loading: this changes guide design requirements significantly, always note if same-day loading is planned
- Scanning without tissue management: inadequate soft tissue capture at the implant site creates holes in the mesh, use retractors and make multiple passes
- Late submission: submitting less than 2 weeks before surgery creates timeline pressure, submit at least 3 weeks before the surgical date