
A surgical guide is one of the most precision-demanding products a dental lab can manufacture. Unlike a crown or bridge where small dimensional variations can be compensated at delivery, a surgical guide must arrive dimensionally correct for its one and only clinical use. There is no adjustment at the chair. If the guide is inaccurate, the inaccuracy is delivered directly to the patient's anatomy.
Achieving and maintaining the precision that clinical accuracy requires is not an accident, it is the result of deliberate system design across equipment selection, material management, process standardisation, and multi-stage quality verification. This article explains what precision manufacturing looks like in a dental lab that consistently produces accurate surgical guides.
Foundation 1: The Right Equipment for the Right Tolerance
SLA Printing for Guide Fabrication
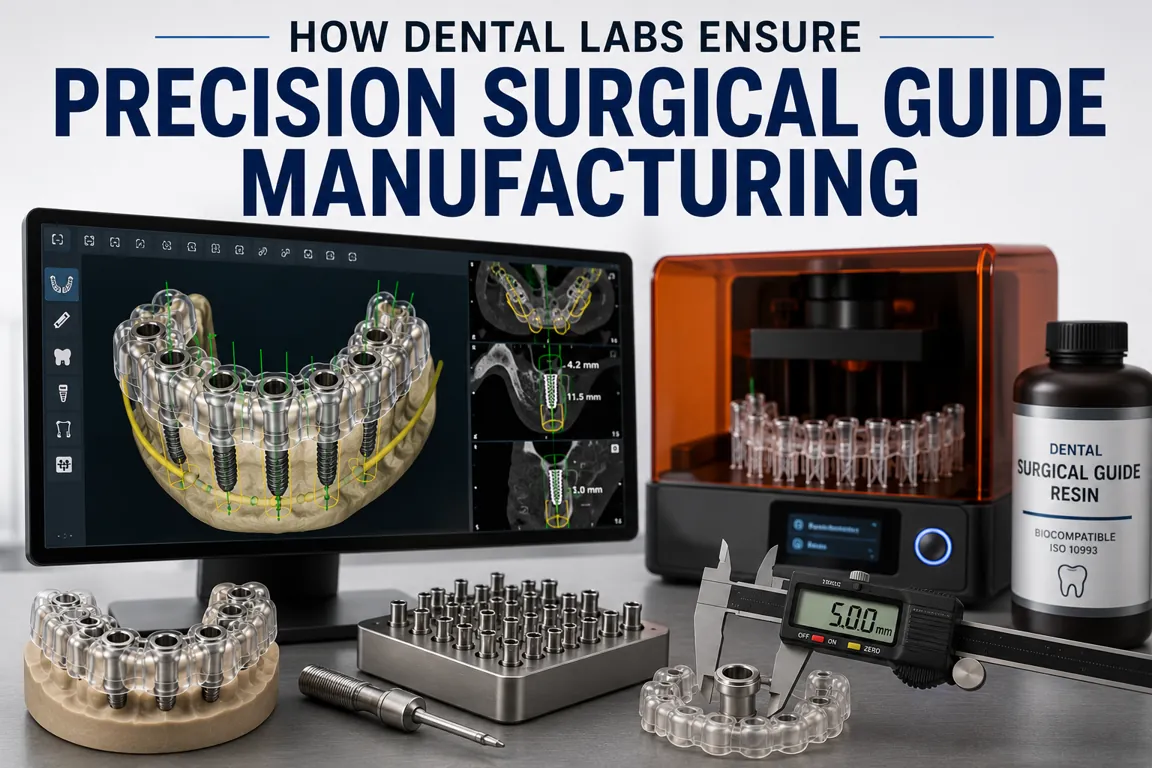
The choice of 3D printing technology is the most foundational precision decision a dental lab makes. Stereolithography (SLA) printing, using a focused UV laser to cure liquid resin layer by layer, achieves 25 to 50 micrometer layer resolution and XY positional accuracy of plus or minus 0.05mm on professional dental equipment. This is the minimum technology standard for guide fabrication.
DLP (digital light processing) printers are faster but project entire layers at once, introducing edge interpolation errors at feature boundaries like sleeve openings that reduce dimensional accuracy in the most critical areas. FDM (fused deposition modelling) printers are completely inappropriate for surgical guides, their layer resolution and material properties cannot achieve the tolerances required for clinical accuracy.
Labs that attempt guide fabrication on consumer-grade printers, desktop SLA units designed for hobby or general dental model use, compromise every guide they produce. Professional dental SLA equipment costs $50,000 to $200,000 and is calibrated to tighter specifications than consumer counterparts. The investment reflects the precision requirements of the application.
Calibration as a Continuous Process
Equipment calibration is not a one-time setup, it is an ongoing process that must occur before each production run. The critical SLA calibration parameters include build platform leveling and Z-axis zero position, UV laser power and scan speed consistency, vat temperature regulation, and galvanometer mirror alignment. At Guided Excellence, calibration verification is performed before every production run. Any deviation detected in a calibration test print triggers investigation and correction before patient guides are produced. This discipline is documented in our complete manufacturing process.
Foundation 2: Material Quality as a Precision Variable
Resin Selection and Verification
Not all 3D printing resins are appropriate for surgical guides, and not all batches of the same resin behave identically. High-quality labs use resins that are ISO 10993-certified for biocompatibility, specifically formulated for minimal polymerisation shrinkage (target: under 0.2% linear), dimensionally stable through autoclave sterilisation cycles, and manufactured to consistent batch specifications.
Incoming batch verification is the quality step that separates labs that know their material is performing as expected from labs that assume it is. Each new resin batch undergoes viscosity measurement confirming it matches the calibrated process baseline, a test print with dimensional measurement confirming the batch produces accurate geometry, and mechanical property verification on test specimens before any patient guides are produced from that batch.
Metal Sleeve Sourcing and Verification
The inner diameter specification for drill sleeves must match the surgical system drill diameters to plus or minus 0.05 to 0.1mm. This specification comes from the implant manufacturer, not from the sleeve supplier's general tolerance claims. High-quality labs confirm the inner diameter specification directly from manufacturer documentation for each system they support, verify sleeves from each supplier batch against this specification before accepting delivery, and measure individual sleeves before insertion into each guide. Our implant surgical guide lab maintains these dimensional records for every case.
Foundation 3: Process Standardisation
Written Standard Operating Procedures
Every step of the guide production workflow must be documented in written standard operating procedures that any trained technician can follow consistently. Without written SOPs, production quality varies with individual technician habits, experience level, and day-to-day factors. With SOPs, every guide produced on any shift by any qualified technician follows the same defined process.
Critical SOPs for guide manufacturing include: file preparation and pre-print validation steps, printer setup and calibration verification protocol, printing parameters for each approved resin batch, washing procedure with UV light inspection verification, post-cure parameters by resin type, sleeve measurement and insertion procedure, dimensional inspection checklist, model fit test procedure and acceptance criteria, and sterilisation and packaging protocol.
Material Traceability
For each guide produced, the manufacturing record should document: the resin batch number and batch verification results, the printer serial number and calibration date for the production run, post-processing parameters and completion verification, and sleeve lot numbers and measurement results. This traceability enables root cause analysis when quality problems arise and supports the documentation practices that medical device standards require.
Foundation 4: Multi-Stage Inspection Rather Than End-Point Inspection
Average labs inspect guides at the end of production, a final check before shipment. High-quality labs inspect at every stage of production, catching problems when they can still be corrected rather than discovering them when the guide is fully fabricated and the only option is to scrap and restart.
Stage 1: Pre-Print Design Validation
Before printing, the design file is validated for mesh integrity, minimum wall thickness, correct scaling, and feature geometry. Problems identified at this stage cost 30 minutes to correct. The same problems identified after fabrication cost 2 to 3 days and full material cost.
Stage 2: Post-Print Visual and Tactile Inspection
Immediately after removal from the build platform, guides are inspected for complete layer adhesion, absence of surface defects, and completeness of fine features. Guides that show print quality issues are held for investigation before processing continues.
Stage 3: Post-Wash UV Inspection
After washing, UV light inspection confirms complete removal of uncured resin. Any fluorescence under UV indicates residual uncured material that requires additional washing cycles. This step is performed on every guide, residual uncured resin is both a biocompatibility concern and a dimensional stability risk.
Stage 4: Dimensional Measurement
After post-cure and sleeve insertion, every sleeve inner diameter is measured and recorded. Overall guide dimensions are verified against the design specification. Any dimension outside tolerance triggers rework or replacement before the guide proceeds to final verification.
Stage 5: Model Fit Test
The guide is seated on the patient's three-dimensional model. Complete contact with no rocking is required for release. This is the final manufacturing gate, no guide that fails this test is shipped. This verification is performed on every single guide without exception. A guide that rocks on the model will rock on the patient. This test exists to prevent that. See more about our verification standards at our implant surgical guide design page.
Foundation 5: Defect Response and Continuous Improvement
How a lab responds to quality failures reveals the depth of its quality commitment. High-quality labs maintain defect logs that document every out-of-tolerance measurement, every model fit failure, and every clinician-reported problem. These logs are reviewed for patterns, systematic issues that indicate process drift, material batch problems, or equipment calibration issues, and corrective actions are documented and verified.
Labs that treat quality failures as isolated events rather than data points in a quality management system miss the systematic improvements that separate consistently excellent manufacturing from occasionally excellent manufacturing.
Submit your case to Guided Excellence and benefit from precision manufacturing built on these foundations. See our transparent guide pricing and submit your case here.